Browse the guides
Quick start
From signing up to a student studying your first deck, in eight steps.
Doing each part yourself is the quickest way to see how Flash Reference fits together. Each step is short, and links to its full guide if you want more.
If your school already uses Flash Reference, ask your admin to invite you, then start at step 2. Your admin has already connected your LMS, so you can skip step 6.
1. Sign up
Go to flash-reference.com/register, or select Start free trial on our website. Enter your organization (your school, college or department), your name, email and a password, and select Register.
You get a 30-day free trial, with no card needed. You're your organization's admin, and you can build decks too. See Starting your free trial.
2. Create a deck
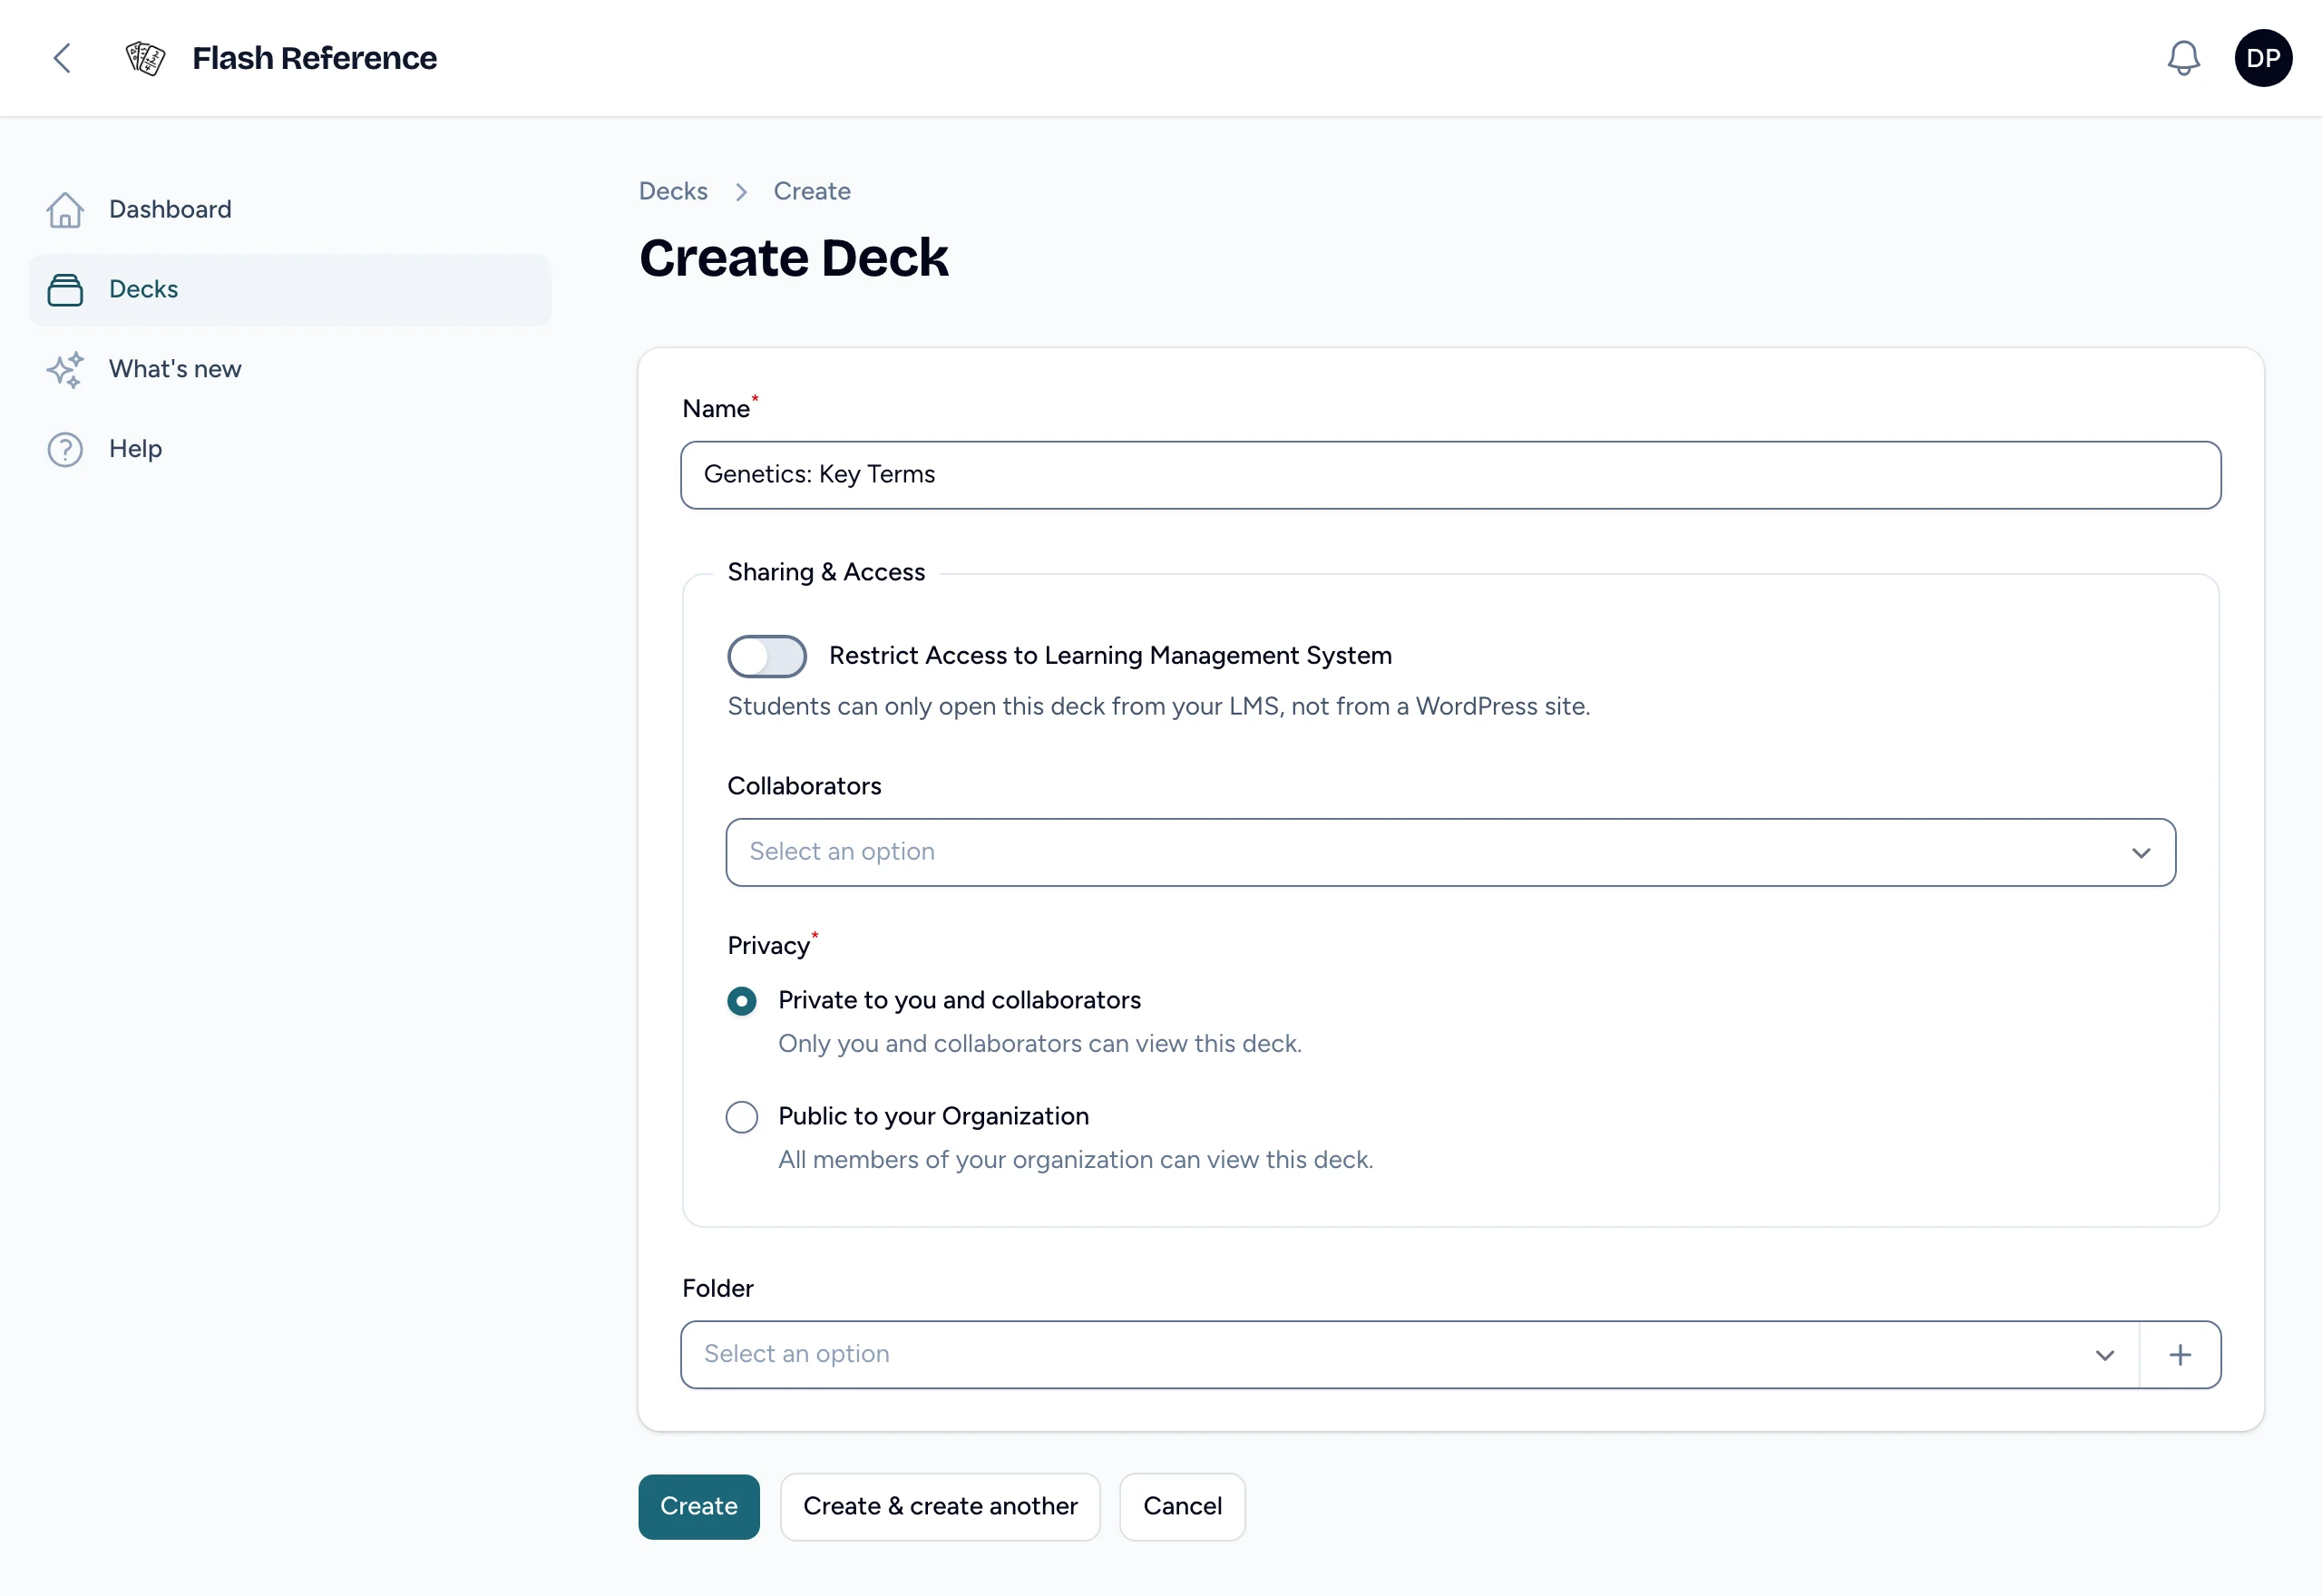
On your dashboard, select New deck. Give the deck a name students will recognize, such as Cell Biology: Organelles, and select Create.
See Creating a deck.
3. Add some cards
The deck opens in the card editor. Select Add New Card, type a question on the Front tab and its answer on the Back tab, and select Save.
To add several cards at once, select the Create From List tab, type or paste one card per line with a vertical bar between the front and back, and select Import:
Mitochondria|Produces most of the cell's ATP
Ribosome|Assembles proteins from amino acids
Nucleus|Stores the cell's DNA
Golgi apparatus|Packages proteins for transport
Give the deck at least four cards with short, different answers, so you can try multiple choice in step 5. See Adding and editing cards and Adding cards in bulk.
4. See it as a student would
Select Preview at the top of the card editor. The deck opens in a new tab, just as students see it. Press the space bar to flip a card, and mark it Know it or Still learning.
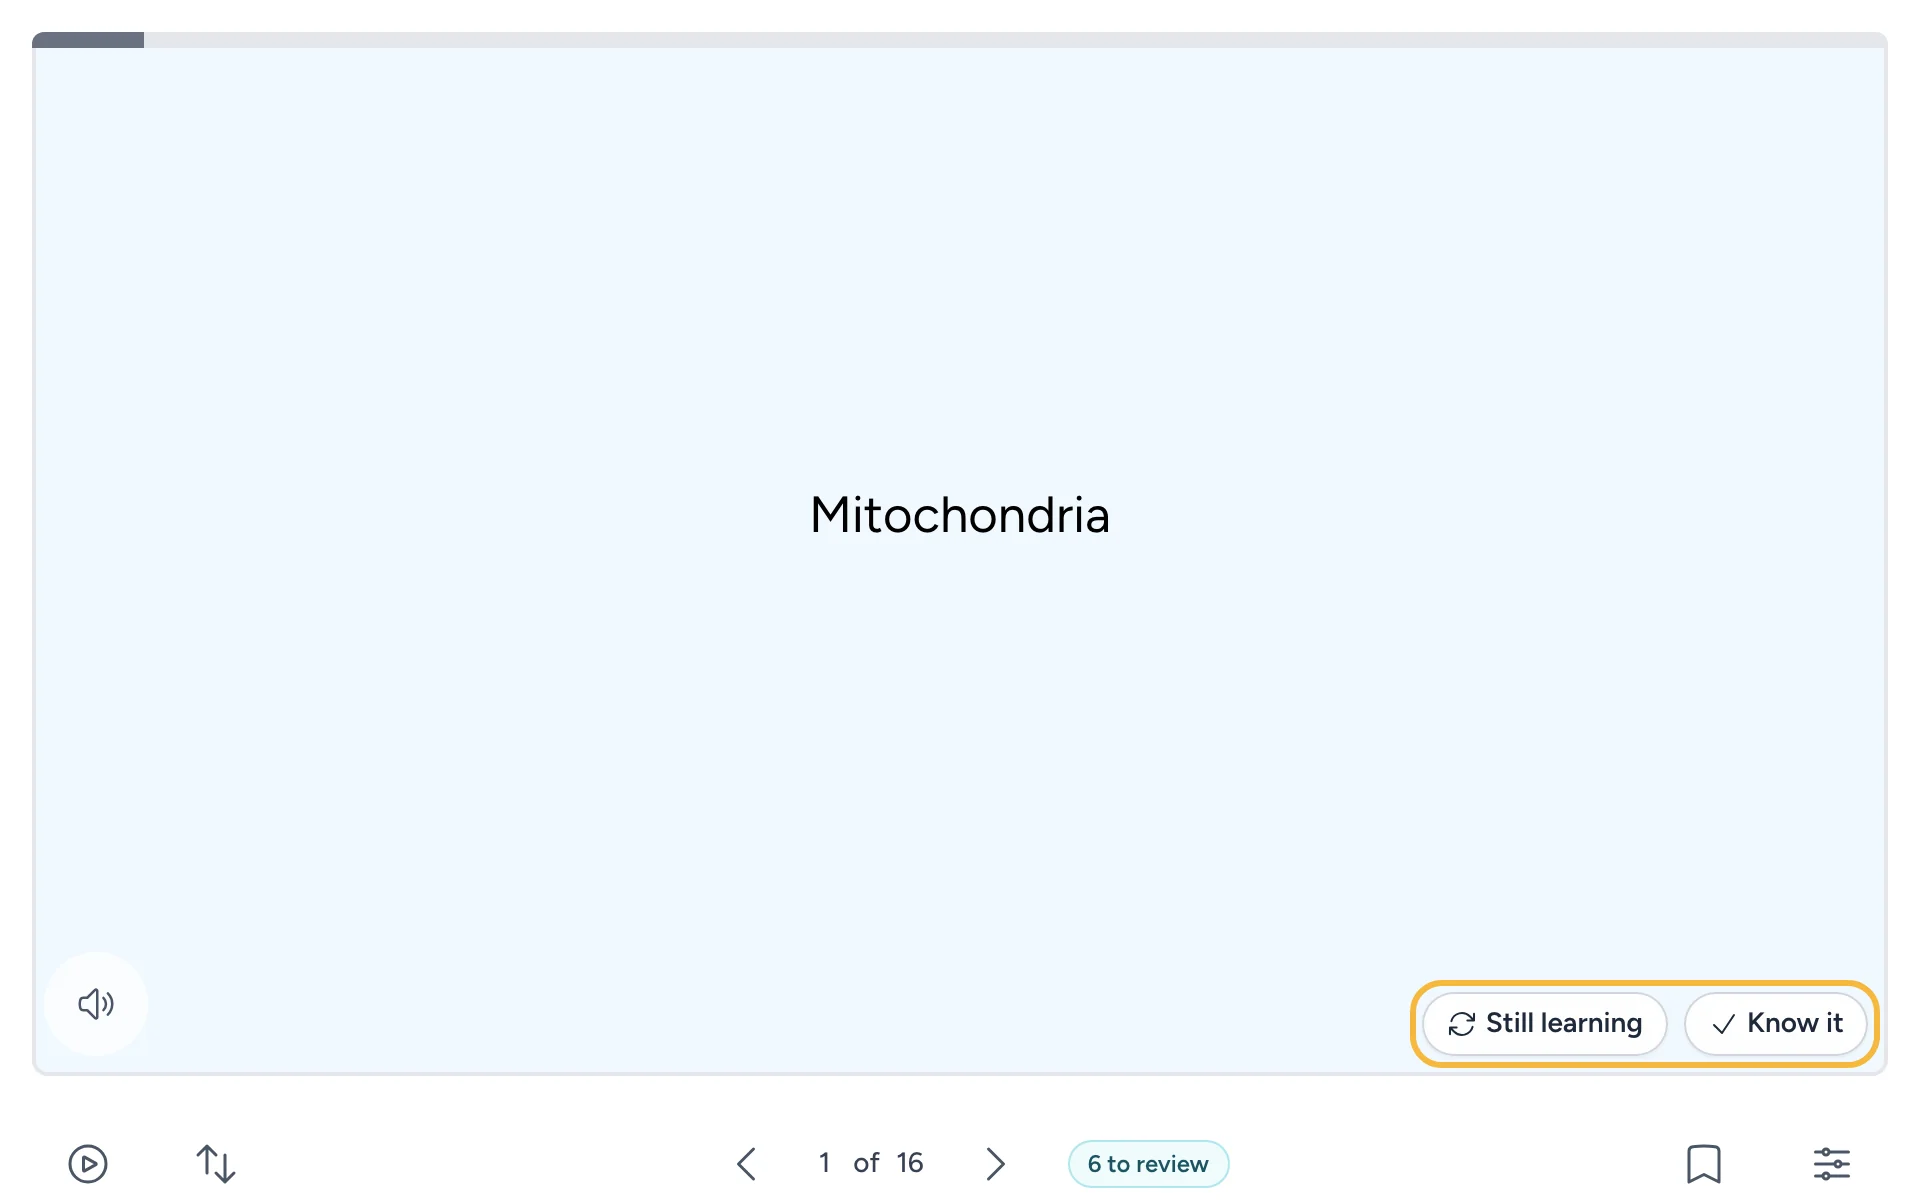
Nothing you do in a preview is saved or counted in your results. The guide for students explains the rest of the buttons.
5. Choose how students study
Select Settings at the top of the card editor, then the Study options tab:
- Know it / Still learning is already on. Leave it on: marks are what your results are made of.
- Turn on Multiple choice to let students pick each card's answer from four options.
- Turn on Spaced repetition to bring each card back just before a student would forget it.
Select Save changes. See Choosing how students study.
6. Connect your LMS
You do this once, for your whole organization, and you'll need to be an administrator in your LMS too. If you aren't, send this step's guides to whoever is.
- Select Admin in the sidebar, then Settings. The Production tab has the details your LMS asks for.
- Follow the guide for your LMS: Canvas, Moodle, D2L Brightspace, Blackboard Learn, Schoology or another LMS.
To put decks on a website instead, see Setting up WordPress.
7. Add the deck to a course
In your course, add Flash Reference like any other tool. In Canvas, for example, select + in Modules, choose External Tool, then Flash Reference. Then choose your deck from the list.
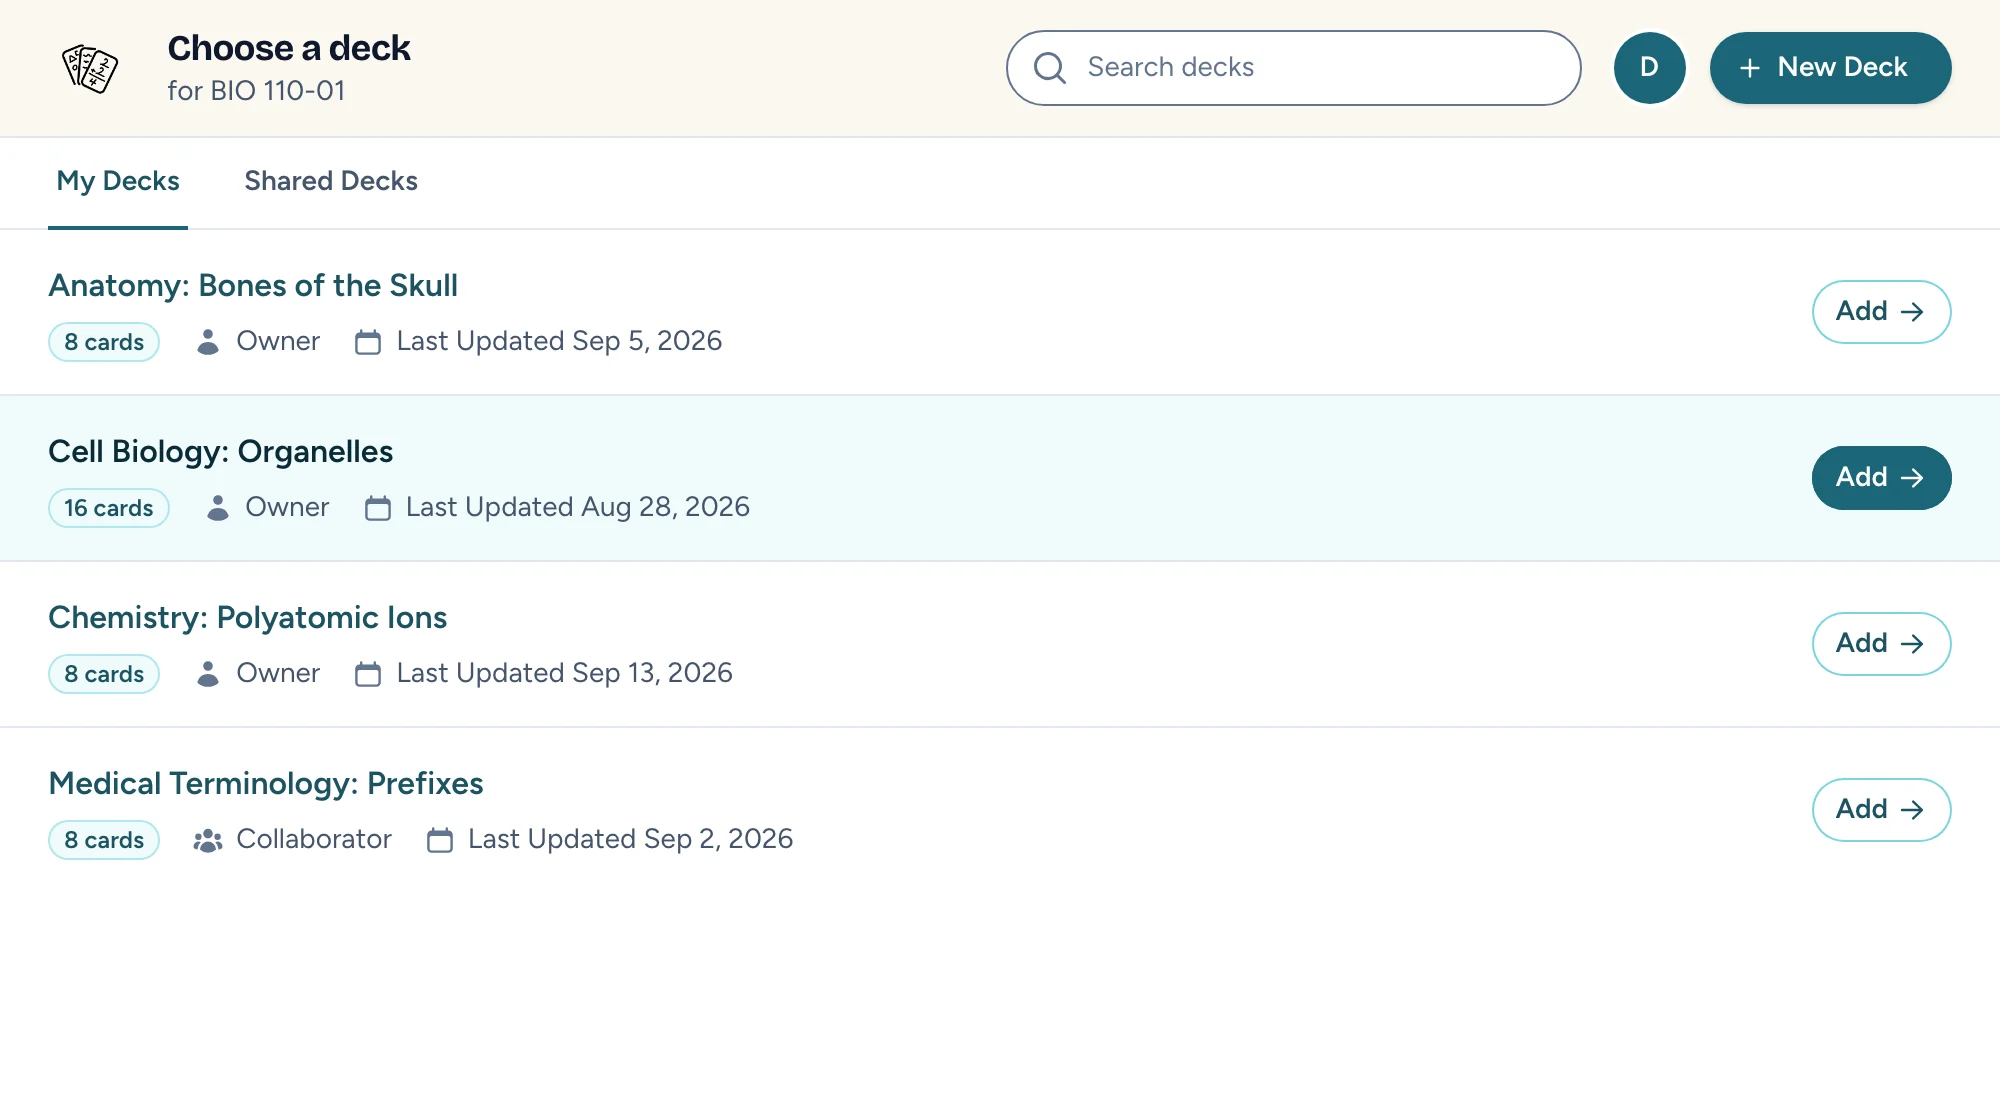
The steps for each LMS are in Adding a deck to your course.
8. A student studies it
Students open the deck from your course. They don't need an account: your LMS tells Flash Reference who they are, and their progress is saved to them. To check what they'll see, open the deck with your LMS's student view.
Once students start studying, the deck's Results page shows who's studying, how they're doing, and which cards are hardest. See Reading your results.
Your checklist
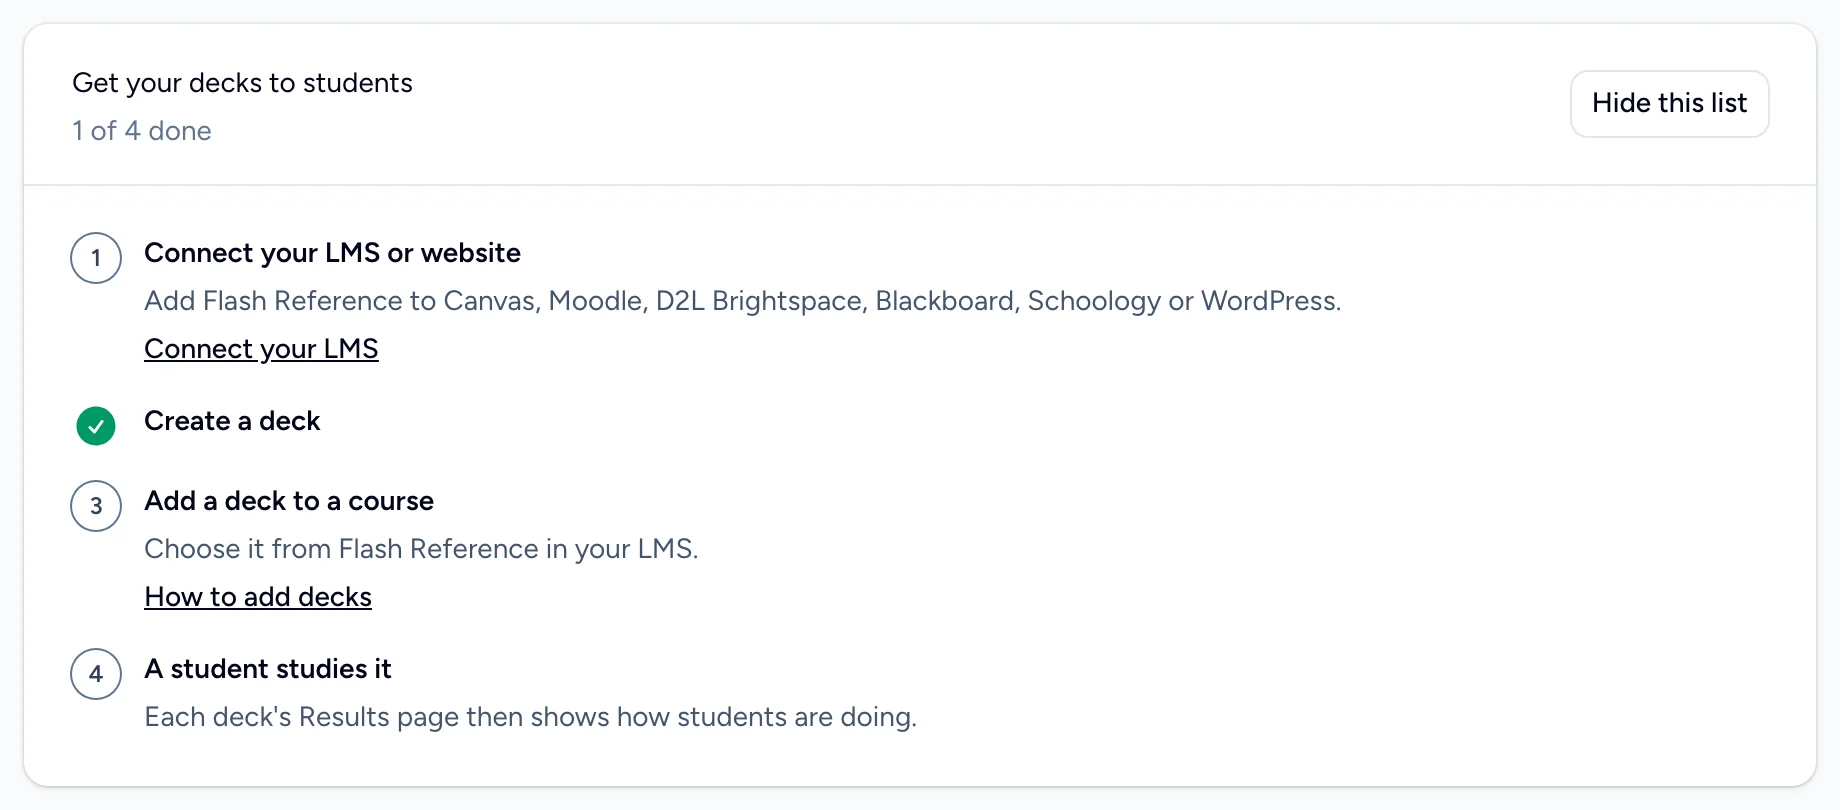
Until your organization is set up, Get your decks to students at the top of your dashboard ticks off steps 2, 6, 7 and 8 as you do them.
What next
- Invite your instructors. During the trial you can send up to 5 invitations a day.
- Share the guide for students with your class.
- Before the trial ends, choose a plan.